Activate Basement view
Hide Section, Elevation views and Grids
View Control bar - Show Crop Region
Adjust the crop region to show the main building only
Architecture tab > Build panel > Floor
Type Selector - Floor: Concrete-300mm
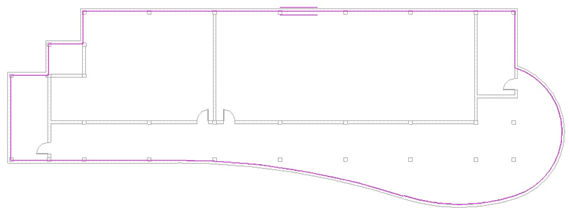
Draw panel > Pick Wall
Pick interior face of all the exterior walls, make sure the boundary is closed
Mode panel > Finish
Click Yes to join geometry - Floor to Walls
Start Floor command again
Type Selector - VCT
Properties palettes - Height Offset: 6mm
Draw the boundary as shown, click Finish
Click Yes to join geometry - Floor to Walls
Modify a Floor as a Platform for the Building
Activate 1st Floor with Pool
Hide the Elevation Marks and Grids
Change the Visual Style to Shaded
Select the floor around the pool
Mode panel > Edit Boundary
Modify the boundary as shown, click Finish
Click No
Change to 3D view
Add the 2nd Floor with Balconies
Activate 2nd Floor plan
View Control bar - Reveal Hidden Elements
Select the text note of the import CAD file, right-click - Unhide in View - Elements
Close Reveal Hidden Elements
Architecture tab > Build panel > Floor
Draw panel > Pick Walls
Options bar - Offset: 0, check Extend into Wall (to core)
Tab-select all the exterior walls
Draw panel > Pick Line
Select the line of the walkway on imported CAD file
Draw lines to fix the connections
Draw panel > Pick Line
Tab-select the balcony
Copy the balconies
Modify panel > Split Element
Options bar - Check Delete Inner Segment
Split all the inner lines
Mode panel > Finish
Click No for not the attach the wall
Click Yes to join geometry - Floor to Walls
Type Selector - Floor: Generic 300mm
Hide the imported CAD file
Copy 2nd Floor to other Floors
Change to 3D view
Select the new floor
Clipboard panel > Copy
Clipboard panel > Paste - Aligned to Selected Levels
Select 3rd to 8th Floor, click OK
Activate 2nd Floor
Cross-select all interior walls and doors
Filter panel > Filter
Select Doors and Walls
Copy and paste on 3rd to 8th floor
Repeat the same step on the balcony doors
Zoom in to the balcony
The floor slabs extend to the balconies are not join with the wall
Modify tab> Geometry panel > Join - Join Geometry
Options bar - Check Multiple Join
Select the back wall, then select each floor
A lines between the balcony and wall to show the join
Create a Shaft Opening
Activate the 1st Floor
Zoom in to the Elevator area
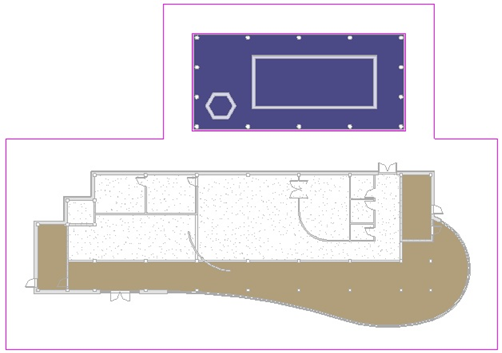
Architecture tab > Opening panel > Shaft
Draw the boundary as shown
Draw panel > Symbolic Line
Draw the symbolic lines
Properties palettes
Base Offset: -300, Base Constraint: 1st Floor, Top Constraints: Up to Level: 8th Floor
Click Finish
Slope Floor for Drainage
Activate 1st Floor Restroom
Expand the crop region to show the janitor's closet below
Select one of the Elevation Mark, hide by category
You are not be able to select the floor in this view
Activate 1st Floor with Pool
Select the floor
Press Ctrl + Tab to return back to 1st Floor Restrooms
The floor is still selected
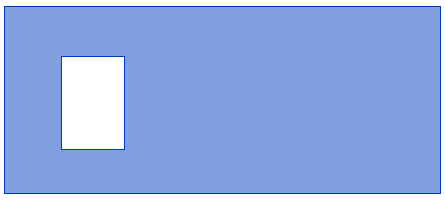
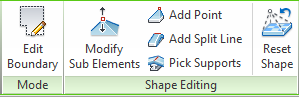
Shape Editing panel > Add Split Line
Draw lines as shown
Shape Editing panel > Add Point
Options bar - Elevation: -15
Place a point in center of each room